Handmade roll bar for my TYCO Mutator
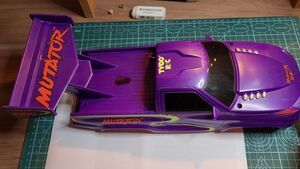
In a previous video, I showed you one of the toys I always wanted as a kid: the TYCO Mutator. We tested it, I took it apart, and I did a full review. However, it was missing something important: the roll bar.
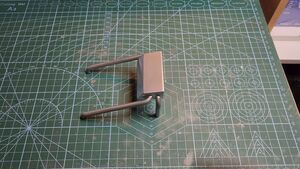
Since I couldn't find the original part, I decided to make it myself. It could have been easy with a 3D printer, but I don't have one, so I opted to make it by hand, combining a bit of creativity, precision, and patience.
Take measurements and references
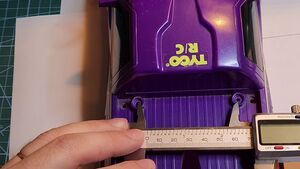
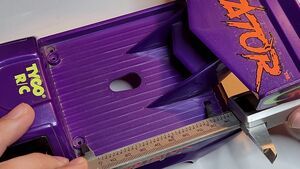
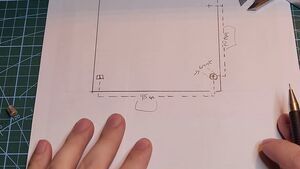
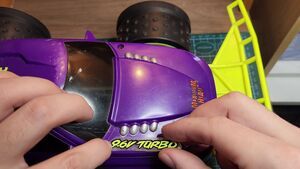
The first step was to obtain the pickup's base measurements and mounting points:
- Overall length: 105 mm
- Overall width: 100 mm
Distance between mounting holes:
- 70 mm (width)
- 95 mm (length)
Height to roof: 42 mm
The remnants of the original roll bar tube were 6 mm in diameter.
View all (5 images)
Creating the technical drawing
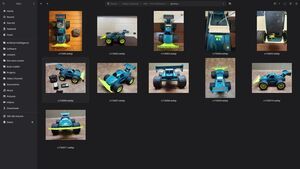
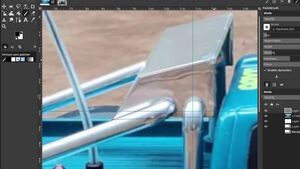
Without having the original piece, I looked for reference photos on eBay. Then, using GIMP, an image editor that allows working with millimeters and adjusting perspective, I generated a rough technical drawing.
I created a 110 x 60 mm canvas, scaled the images, and adjusted guides until they matched the actual measurements. Next, I drew the perimeter and obtained the exact proportions using a calculator.
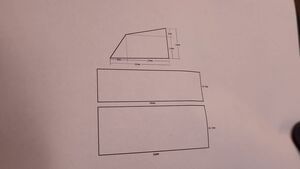
In the top view, I determined the depth: 58 mm x 23 mm, although by applying the Pythagorean theorem, I corrected the values to 24.5 mm and 16.6 mm.
View all (5 images)
Creating the pieces
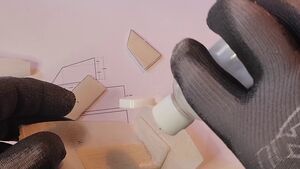
I printed the templates at full scale to use as a guide.
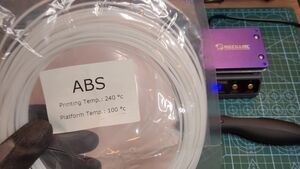
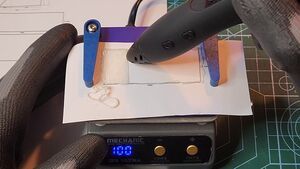
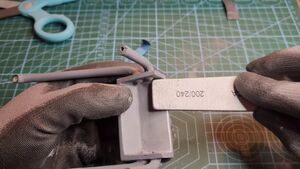
I used a handheld 3D pen with ABS filament (240°C) and a heated bed at 100°C. I got the 6mm plastic tubing from AliExpress.
I applied the molten filament directly onto the templates, obtaining the first pieces. The ink from the paper transferred to the plastic, marking the edges, which made the process much easier.
View all (8 images)
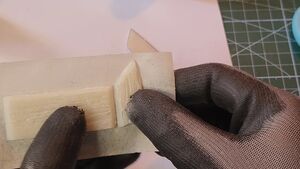
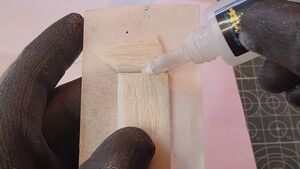
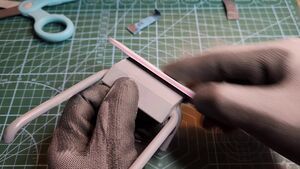
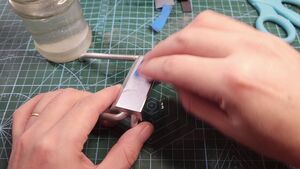
To join the pieces, I used masking tape and the classic cyanoacrylate and baking soda glue. Then I sanded again to level and adjust the dimensions.
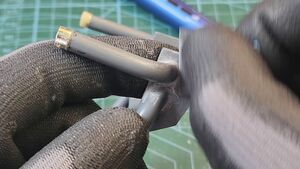
To bend the tubes, I used a heat gun at 200°C. To control the size of the bend, I reinforced the sections with tape. The result was good, at an angle very close to the original design.
Next, I filled imperfections with plastic putty and sanded again—first with coarse sandpaper, then fine—until I achieved a smooth and uniform surface.
View all (24 images)
Painting and final finish
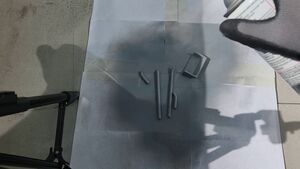
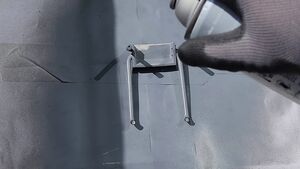
I applied a coat of primer to seal the surface and improve the adhesion of the final paint.
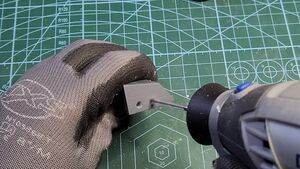
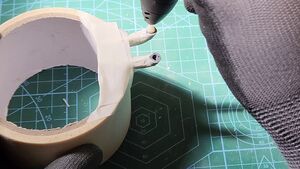
Once the paint was dry, it was time to assemble all the pieces. To do this, I drilled holes in the spoiler and added plastic filler to the tubes using a 3D pen to create a strong joint. Using a hand drill, I adjusted the joint and glued it with cyanoacrylate and baking soda.
View all (14 images)
After removing any excess glue and sanding with wet sandpaper, I applied a coat of chrome paint.
After another polish, the finish was glossy with metallic highlights, exactly as I had envisioned.
View all (5 images)
Installation and final details
Before finishing, I added fillers to the tubes where the screws would go, gave it one last polish, and applied the final coat of chrome paint to leave the piece looking like a mirror.
View all (7 images)
The final result
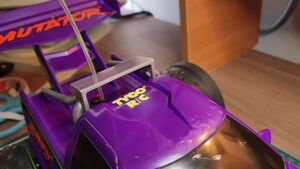
Finally, install the original decals, reinforced with double-sided tape to prevent them from peeling off over time.
And that's it!
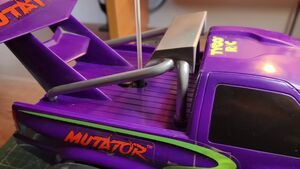
After many hours of work, the TYCO Mutator of my dreams is complete. Shiny, sturdy, and with its handmade roll bar, it's ready to charge the battery and hit the road again.
This project demonstrates that with patience, creativity, and a few basic tools, it's possible to replicate parts that are impossible to find elsewhere. You don't always need a 3D printer: combining handcrafted and digital techniques can take you very far.
View all (4 images)
Here's the video I posted on YouTube documenting the restoration:
Comments (0)
No comments yet.