I Built a RetroPC for a LAN Party
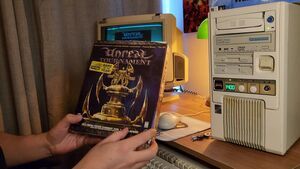
In the early 2000s, the internet was slow and unstable. To play with friends, the best option was to physically bring computers to a friend's house and connect via a local area network. In Chile, my home country, these gatherings were called "tarreos." Games like Unreal Tournament, Quake 3, Counter-Strike, Starcraft, and Age of Empires were the stars of these epic battles.
Recently, a group of vintage computer enthusiasts decided to relive this experience with a clear rule: the computers had to be at least 20 years old, meaning a cutoff year of 2003.
The Search for the Ideal PC
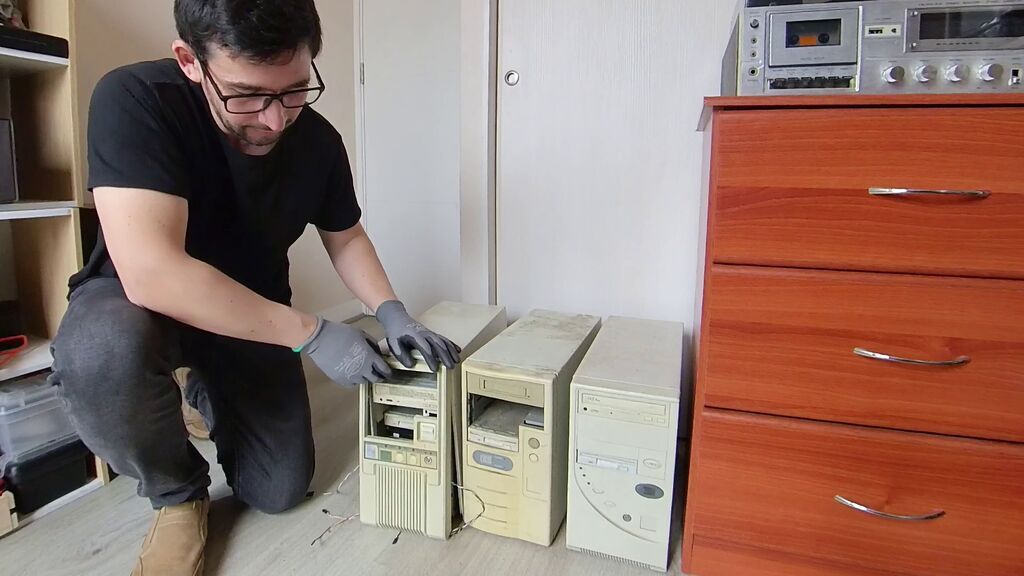
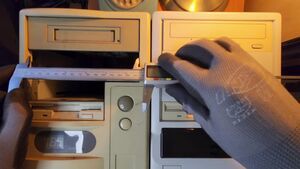
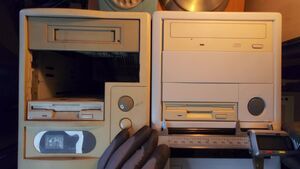
Taking advantage of the opportunity, I went to the storage room and pulled out three BabyAT cases waiting to be restored:
From left to right:
- Celeron 400 MHz: A hybrid Slot 1 and Socket 370 motherboard with good potential but no graphics card.
- Pentium MMX 233 MHz: Found on the street, insufficient hardware, and I'm unsure if it even turns on.
- Pentium MMX 166 MHz: Works perfectly but is too slow.
Ultimately, I decided to use the first system since it features an iconic case from the early '90s, one of the most sought-after BabyAT cases by collectors. It also happened to be the same type of case my school had when I was studying.
Current Case Hardware
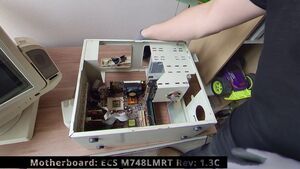
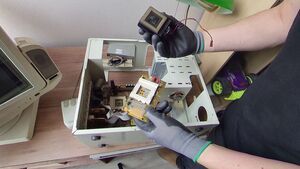
It's an ECS M748LMRT Rev:1.3C hybrid Slot 1 and Socket 370 motherboard. These motherboards were released during the generational transition between the Pentium 2 and Pentium 3, which is why they featured both sockets. This made them attractive to consumers since they could upgrade to the next generation by simply swapping the processor, saving on the motherboard and memory.
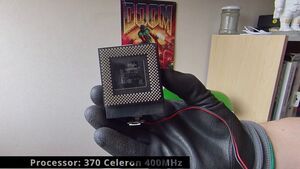
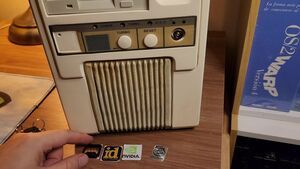
The processor is a 400MHz Celeron. Honestly, this hardware isn't bad, and I could use it to play a few games. However, the problem is that I don't currently have a graphics accelerator, so its performance would be poor for the upcoming LAN party. I plan to purchase an Nvidia FX-5200 card, although I doubt it will arrive in time for the event.
View all (6 images)
Assembly
Hardware Selection
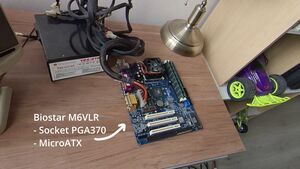
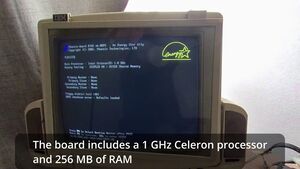
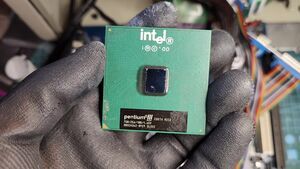
The second computer I ever had was a Pentium III, and it was the first one I built with my own hands. It had a Biostar M6VLR motherboard and a Pentium III 750 MHz processor. I have fond memories of it since I couldn't afford the processor at first and had to wait a couple of months to complete my PC. In the meantime, it sat next to me, unusable.
The first time I participated in a LAN party was with that computer. However, the main reason I want to replicate this hardware is that I could only enjoy it for a short time, just a couple of months. Why? While trying to update the BIOS for better performance, I corrupted the EPROM. Without the tools to fix it, I ended up damaging both the motherboard and the processor, losing the opportunity to upgrade the system.
That's why I want this RetroPC to have the same motherboard from my second PC (the first one I built myself) and push it to its maximum potential, using the best processor, the most RAM it can handle, and a PCI graphics accelerator (since it lacks AGP).
Motherboard Installation
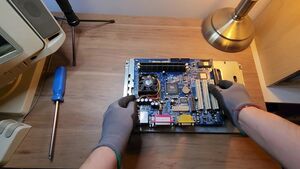
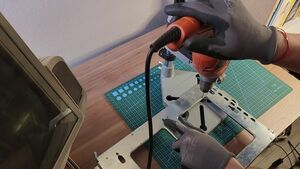
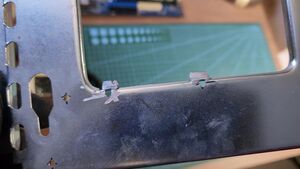
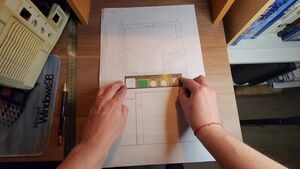
The MicroATX motherboard didn't fit in the BabyAT case, so I installed it rotated 90 degrees. To do this, I drilled holes and created plastic supports using wall plugs. I also repaired exposed traces and applied a UV mask to protect them.
View all (10 images)
Port Extensions
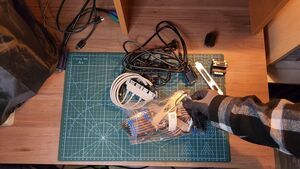
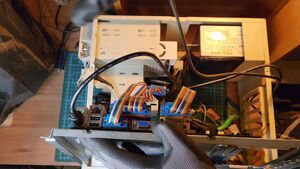
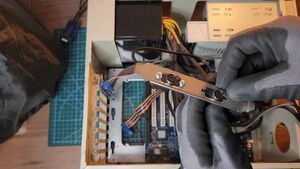
For the rear ports, I bought extensions from Aliexpress. I adapted PS/2, USB, VGA, MIDI, and Ethernet ports, as well as a cheap sound card that I broke apart to use its outputs. I also used a Compact Flash to IDE adapter for the operating system. Installing these components was challenging due to the lack of space inside the case, requiring numerous adjustments.
View all (8 images)
The Front Panel Incident
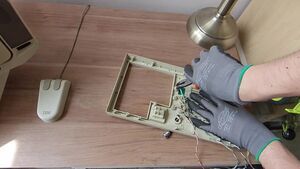
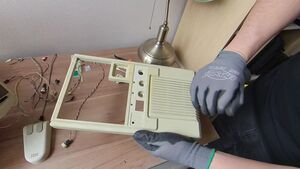
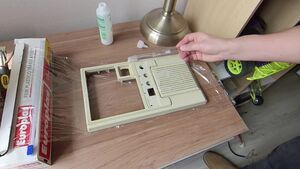
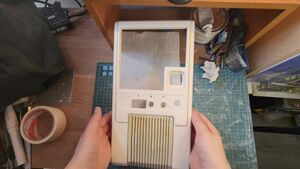
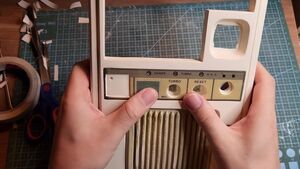
Wanting to restore the original color of the case's front panel, I applied hydrogen peroxide. Since there was no sunlight, I put it in the oven instead. Why? I read that the chemical effect was caused by the gas released by hydrogen peroxide, so I assumed the oven's heat would release the gas. Big mistake. The plastic warped and shrank.
View all (12 images)
Here's a video I uploaded to YouTube showing the process up to this point:
After months of frustration, I began the repair. I cut, straightened, and filled it using ABS filament with a 3D printing pen. I also used epoxy resin to reinforce the structure.
View all (19 images)
This reconstruction process was particularly exhausting and took a lot of time—about a month of work spread over my free time throughout a year. Each layer of epoxy resin needed to dry before applying the next. Additionally, I had to sand and shape it carefully to restore its original aesthetic.
Finally, after multiple layers of paint and adjustments, the front panel looked flawless. I decided to leave the grille as it was after my failed retrobright attempt as a reminder that humans make mistakes and, with effort and resilience, can fix them. Restoring this iconic case instead of discarding it brings me great satisfaction.
Final Improvements and Adjustments
As I mentioned, in 2001, I couldn't push my PC to its limits because I burned the motherboard and processor. Now it's time to finish what I couldn't do back then, and the components just arrived by mail, so it's upgrade time:
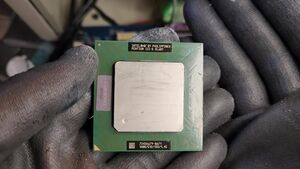
- Processor: I'll swap the Celeron that came with the motherboard for a Pentium III Tualatin 1.4 GHz.
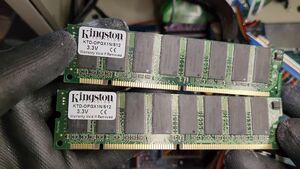
- RAM: I'll install 1 GB, the maximum supported.
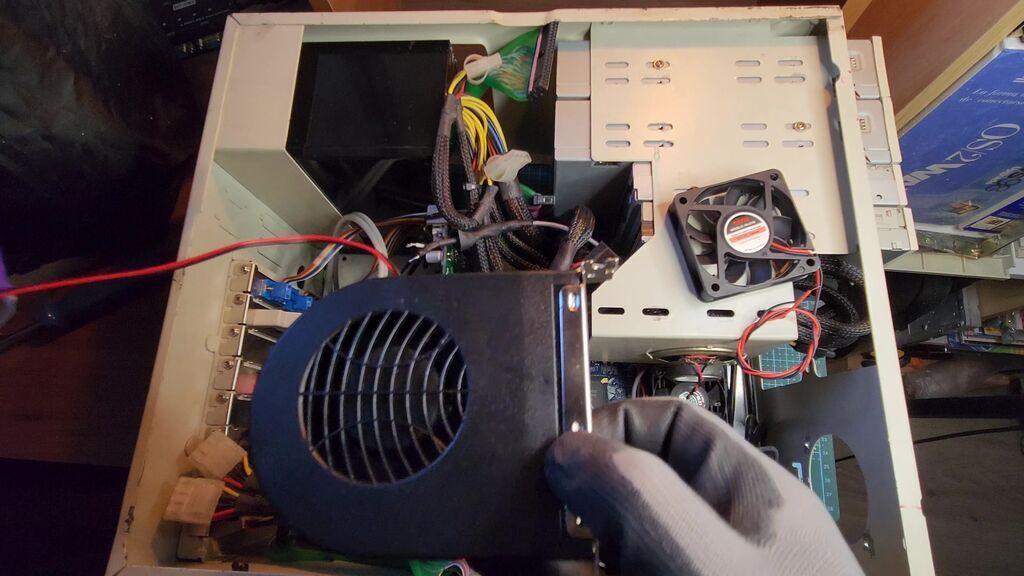
- Cooling: I'll add front and rear fans for proper airflow to keep the system cool.
For the rear fan (air extractor), I installed a PCI slot fan ready to plug and use. For the front fan (air intake), I used an opening on the front panel. I drilled holes for the screws, ensured a secure fit, and neatly managed the cables to optimize airflow.
The Frequency Clock Running Doom
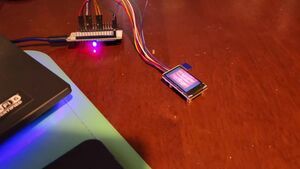
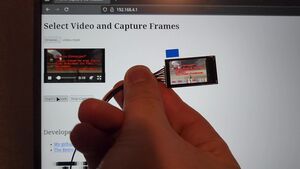
Since the frequency indicators only supported up to 3 digits, modifying it to display "1400" was necessary. Taking it a step further, I thought, why not replace the old 7-segment LED with a screen? Then I wondered, has anyone ever run Doom on a frequency indicator?. Although there's a native Doom version for ESP32, due to time constraints and the lack of an ESP32 microSD controller, I decided to simulate it instead. I set up a video stream to display Doom on the clock. This little detail, though purely aesthetic, was a fun addition to the retro theme.
View all (6 images)
Installing the Operating System and Testing
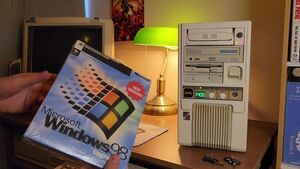
Finally, I installed Windows 98. Although Windows 2000 or XP would be more suitable for the hardware's era, I barely used Windows 98 back then, so I wanted to give it a chance. I tested most of the games I loved during that time:
- Unreal Tournament: Smooth and flawless.
- Quake 3 Arena: A bit tricky with a ball mouse, but functional.
- Doom 2: Perfect for a PC that survived the Martian hell.
- Star Wars Rogue Squadron: Challenging to play with a keyboard.
- Starcraft: Ideal for a LAN Party.
View all (4 images)
Here's another YouTube video where I showcase the front panel restoration and the final setup:
Conclusion
After a year and a half of work, I now have a retro computer worthy of a LAN Party. It wasn't just a nostalgic journey, but also a chance to learn and redeem myself from past and present mistakes, haha.
The next LAN Party will be the perfect stage to see this survivor in action. I hope this story inspires you to rescue and revive an old retro PC. See you on the next adventure!
Comments (0)
No comments yet.