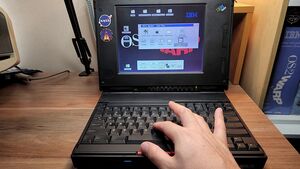
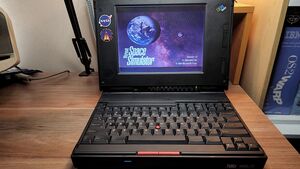
Restoration of a ThinkPad 750C, one of IBM's most important machines
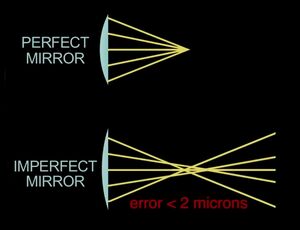
On April 24, 1990, the STS-31 mission launched one of the most important scientific instruments in history into orbit: the Hubble Space Telescope. However, the celebration was short-lived. When the first images reached Earth, NASA discovered a serious problem: an error of just two micrometers in the primary mirror was causing spherical aberration that prevented the acquisition of sharp images.
While NASA searched for a solution for the telescope, IBM was experiencing one of the most important moments in its history. In 1992, it introduced the ThinkPad 700, a line of laptops that quickly became a benchmark thanks to its design, battery life, and reliability. Its distinctive red TrackPoint became a recognizable symbol for engineers, scientists, and executives worldwide.
Hubble's chance at redemption arrived in December 1993 with the STS-61 mission. Aboard the space shuttle Endeavour, astronauts installed an optical correction system that restored the telescope's sight. That mission not only saved the Hubble Space Telescope but also marked a milestone for IBM, which decided to send a newly released ThinkPad 750 into space.
For the first time, a laptop from this family operated in zero gravity during a critical mission. The image of astronaut Kenneth D. Bowersox using a ThinkPad 750 became etched in technological and space history.
Thirty years later, one of those machines unexpectedly crossed my path.
An unexpected discovery in Florida
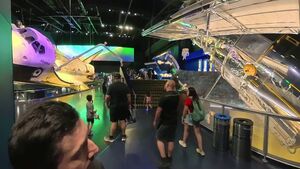
During the summer of 2025, my wife and I traveled to Orlando, Florida. As a space exploration enthusiast, a must-see was the Kennedy Space Center at Cape Canaveral.
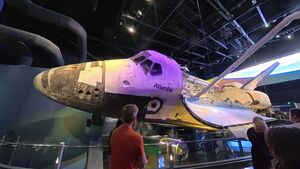
Exploring the complex is an awe-inspiring experience. There you'll find relics from the Apollo program, the gigantic Saturn V rocket, the space shuttle Atlantis, a replica of the Hubble Space Telescope, and the poignant "Forever Remembered" memorial, dedicated to the crews of Challenger and Columbia.
Before leaving Orlando, I decided to visit a few Goodwill stores. I always check the vintage computer section hoping to find something interesting.
Among calculators, software, and forgotten peripherals, I spotted a laptop behind a glass display case. The saleswoman told me it wouldn't turn on, but it came with a charger. It cost just twenty dollars.
I bought it without a second thought.
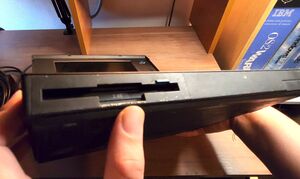
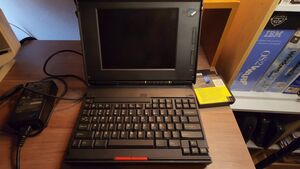
When I took it out of the bag, I couldn't believe what I saw: it was an IBM ThinkPad 750Cs.
View all (6 images)
Review
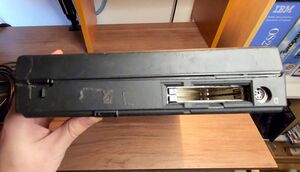
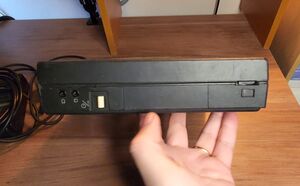
Despite its age and the fact that the computer had been stored in a warehouse, the casing showed normal wear for a machine over three decades old, yet it still conveyed the robust feel that made the ThinkPad line famous.
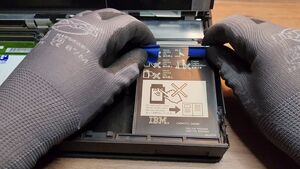
The 750Cs stood out for several innovations ahead of its time. Its design with a hinged keyboard allowed for tool-less replacement of the battery, hard drive, and floppy disk drive. IBM maintained this philosophy for several years before laptops evolved toward more compact designs.
- Low-power Intel 486SL processor.
- Color DSTN display.
- High-density floppy disk drive compatible with 2.88 MB disks.
- Serial, parallel, VGA, and PS/2 ports.
- PCMCIA slots.
- Modular battery system.
Model differences depending on the screen
| Model |
Screen type |
Size |
Resolution |
Colors / Grayscale |
| 750 | STN monochrome | 9,5" | 640 x 480 | 64 shades of gray |
| 750Cs | DSTN color (Dual-Scan) | 9,5" | 640 x 480 | 256 colors |
| 750C | TFT color (Active Matrix) | 10,4" | 640 x 480 | 256 colors |
| 750P | monochrome touchscreen | 9,5" | 640 x 480 | 64 shades of gray |
| 750Ce | TFT color (Active Matrix) | 10,4" | 640 x 480 | 256 colors |
Sorry for the quality of the following photos, my lens was out of focus:
View all (6 images)
First ignition test
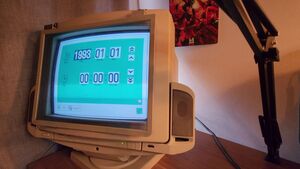
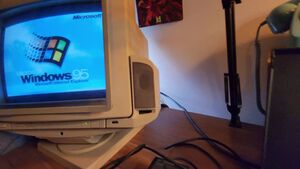
Upon startup, the computer emitted startup sounds and displayed activity, but the screen remained completely black. Connecting an external monitor immediately brought the image to life. The system booted without issue and retained a working installation of Windows 95.
However, after further testing, the machine behaved erratically. Sometimes it displayed an image correctly, other times it didn't, and occasionally the computer would freeze during startup.
View all (5 images)
Disassembly
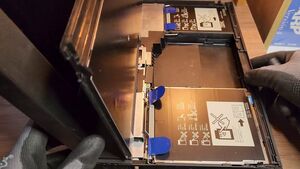
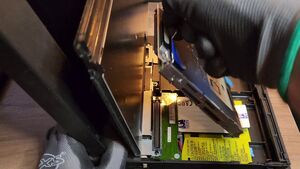
To access the motherboard, several screws must be removed; most are the same size, so you only need to memorize the location of a few that differ from the rest.
The trickiest part of disassembly is removing the keyboard and the plastic cover over its hinges. Once the motherboard is accessible, it's anchored to a Faraday cage that protects it from cosmic radiation.
After isolating the motherboard, inspection revealed something curious: biological remains near a critical area (the processor). It appeared some insect had used the inside of the device as a refuge decades ago. Although I initially thought this was the source of the failure, a detailed inspection under a microscope ruled out corrosion or visible damage; the problems continued to be intermittent.
View all (33 images)
First problem encountered
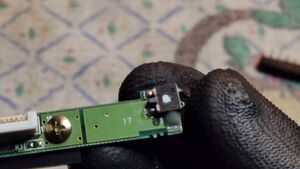
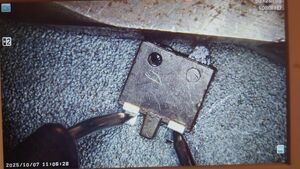
The first fault found was the lid closure sensor. This sensor is a limit switch; when activated, it turns off the screen and puts the device into sleep mode.
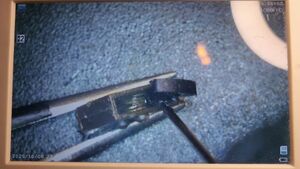
Fortunately, it's a part that's still manufactured; before replacing it, it's necessary to first identify whether the sensor is normally open or normally closed. I disassembled it to analyze it and confirmed that it was normally open.
After a week, the replacement arrived; however, it wasn't the cause of the problem; the machine continued to behave erratically and experience intermittent failures.
View all (6 images)
Second problem and cause of intermittent failures
After several days of measurements and tests, I noticed a strange pattern: every time I removed and reinstalled the power board, the machine booted correctly after reassembly. At first, I thought the problem was with the board itself, so I spent some time testing components; everything was fine. Then I thought the problem was with the connectors, since the computer always turned on when I pressed them. I checked and cleaned the connectors, took continuity tests, and everything was fine; however, the computer continued to have these erratic startups.
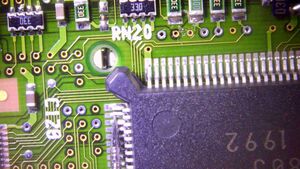
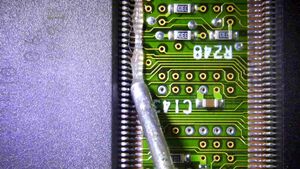
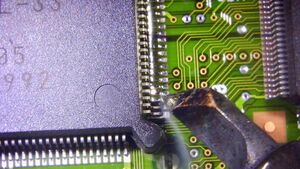
Clearly, it was a contact problem; some component had a solder joint issue, but I couldn't identify it. After several hours of analysis, I found the problem: it was the processor.
It wasn't the Intel 486 that was defective, but the solder joints on some pins. These connections were broken; sometimes they made contact, and other times they didn't. A careful reflow restored the connections. For the first time, the computer started booting correctly and consistently.
View all (4 images)
Resurrecting the screen
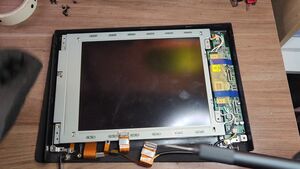
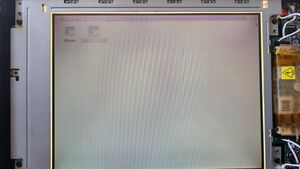
With the motherboard working, the challenge remained of repairing the screen. The symptoms clearly pointed to aging capacitors in the inverter and power supply circuits of the LCD panel.
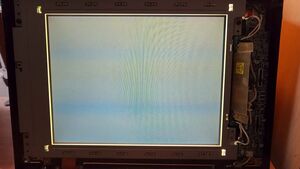
After replacing the faulty components, the image reappeared, but new problems arose:
- The contrast would change suddenly.
- The image would collapse when white color predominated (about 80%).
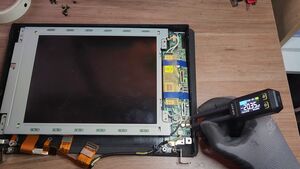
The first failure made me feel like an amateur; it took me several days to locate the faulty component. At first, I detected that the problem was caused by variations in the screen's power supply voltage, between approximately -25V and -20V; this voltage would fluctuate, and the contrast would rise or fall unexpectedly.
I took many measurements, even starting to sketch a circuit diagram in my notebook, trying to understand which component might be changing its characteristics under stress.
In the end, it turned out to be caused by a potentiometer with a contact problem. The connection of the variable resistor to the contact pin was modified by the temperature generated by the inverter board, causing unpredictable changes in the panel's control voltage.
View all (11 images)
I repaired it by restoring it with high-quality conductive paint; it can be found on the internet as LANRUI J9.
The second failure was even more interesting.
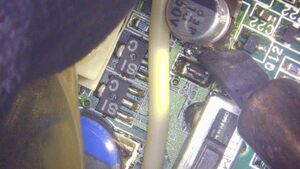
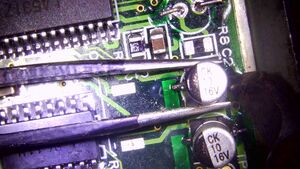
The inexpensive, modern capacitors I had installed had an excessively high ESR (equivalent series resistance). Although their microfarad values were correct, they couldn't respond quickly enough to the demands of the LCD controller.
The solution was to replace them with low-ESR polymer capacitors.
To detect the problem, I used my oscilloscope to graph the voltage drops and spikes. I identified that the voltage outputs of the LA5317 integrated circuit, responsible for generating different voltage levels, were experiencing very pronounced ripple when the white balance exceeded 80%.
After using an ESR meter, such as the FNIRSI LCR-ST1, and comparing the electrolytic and polymer capacitors, I replaced all the electrolytic capacitors with polymer capacitors, and the problem was solved.
View all (13 images)
RTC and Standby Batteries
One of the curious aspects of early IBM laptops (PS/note and Thinkpad) was their three independent battery system.
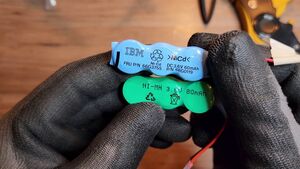
One battery maintained the internal clock (Real Time Clock), another powered the standby mode; at that time, standby was 100% hardware-based, not hybrid like today. And the third battery enabled laptop operation (Main battery).
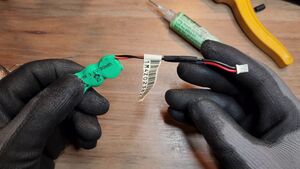
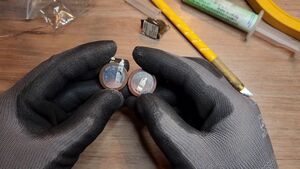
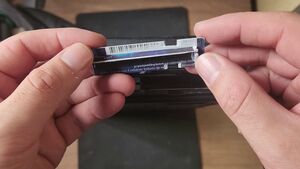
To my surprise, both the Panasonic VL2330 battery and the 3.6V nickel-cadmium standby battery packs (3-button type in series) are still manufactured; therefore, the task was very easy, I only had to change the connectors.
The main battery is dead; from what I researched, there are no replacement cells (they are no longer manufactured in the necessary size); in the future, I will build a replacement using lithium cells and a BMS charge controller.
View all (5 images)
Repairing the chassis
The electronics were fixed, but the exterior had several damages.
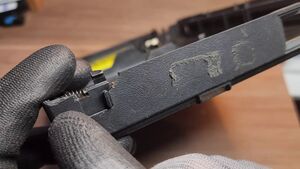
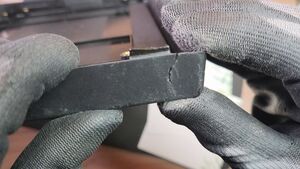
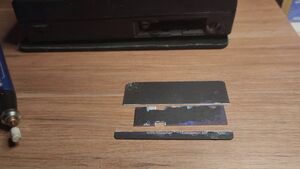
Using the invaluable technique of cyanoacrylate and baking soda, I rebuilt all the broken parts. Based on images from the internet, I repaired the keyboard hinges, cracked areas of the chassis, and so on. I reinforced the screen cover using carbon fiber and epoxy resin to prevent future fractures caused by the tension of the hinges.
View all (28 images)
PCMCIA Lid and Lifting feet
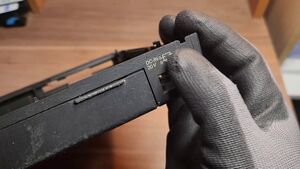
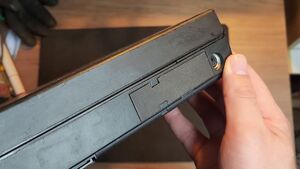
I also fabricated a cover for the PCMCIA slots using an old credit card and, finally, new ABS plastic feet using a 3D filament pen.
View all (9 images)
Software
I did some research on the operating systems NASA used in 1993. Most personal computers used the OEM operating systems included with the machine; therefore, MS-DOS would have been the most common in those years. However, depending on the project, some computers lacked an operating system; the software itself handled booting and file management.
From my research, for the Space Shuttle missions, the first ThinkPads that went into space were used to facilitate the reading of documents that were originally carried on paper; I could infer that the software on the first ThinkPad 750C in space must have been a file reader running on MS-DOS.
I delved deep into the internet trying to find any clues about the software used, but most of the documents focus on Hubble maintenance logs, which is understandable, since it was the mission's priority; the use of the ThinkPad was just an anecdote.
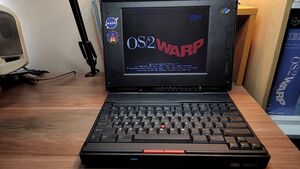
I decided to install OS/2 Warp (version 3); It might seem like an odd choice, but in 1993 it was one of the most advanced and robust operating systems available for the PC platform. If this machine had been designed to accompany a space mission, it deserved to run one of the best operating systems of its time.
Then I installed space shuttle simulators and some classic games I'd been meaning to play for years, including The Secret of Monkey Island.
View all (14 images)
Conclusion
As someone born in the 80s, the Space Shuttle missions are a part of my generation. As a child, I was a kid at the height of technology; I was always seeing impressive pictures of the Columbia or Discovery in magazines. Back then, it was every kid's dream to become an astronaut.
I've visited several NASA museums in the United States and similar ones in other countries, which has allowed me to connect with the space race. But by a twist of fate, this machine came into my hands. While it's not the exact model that traveled to space, it fills me with joy to be near it and to try to restore it.
Here's a video of the restoration:
Comments (1)
Alan (user-4) 
 2026-10-29 22:22
I saw the comment you posted on facebook, is it true that your site workss on OS/2