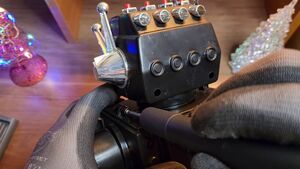
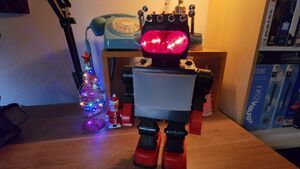
Restoring a robot forgotten in its box for 40 years
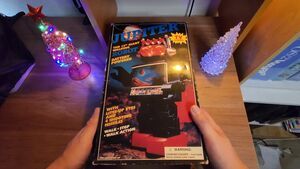
Jupiter – The 13” Giant Walking Robot (With TV Screen)
I bought it from Facebook Marketplace brand new, never used, never assembled, never played with. The artwork is pure 80s excess: epic photos of the robot firing missiles, glowing eyes, moving arms. More images on the sides, the same on the base. Promises of action everywhere.
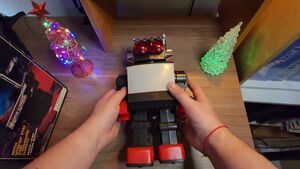
When I opened the box: there it was. Immaculate. In its original bag, with the missiles sealed, the stickers intact, and the protective cardboard still in place.
View all (13 images)
A robot that was born defective
The seller told me he received it as a gift in the mid-80s. It never turned on. It was put away to be replaced "after the holidays." That moment never came; the holidays passed, and everyone forgot about it, leaving the robot stored away for decades.
Forty years later, during the 2020 lockdown, it turned up at his parents' house. Finally ending up in my hands.
A bit of history
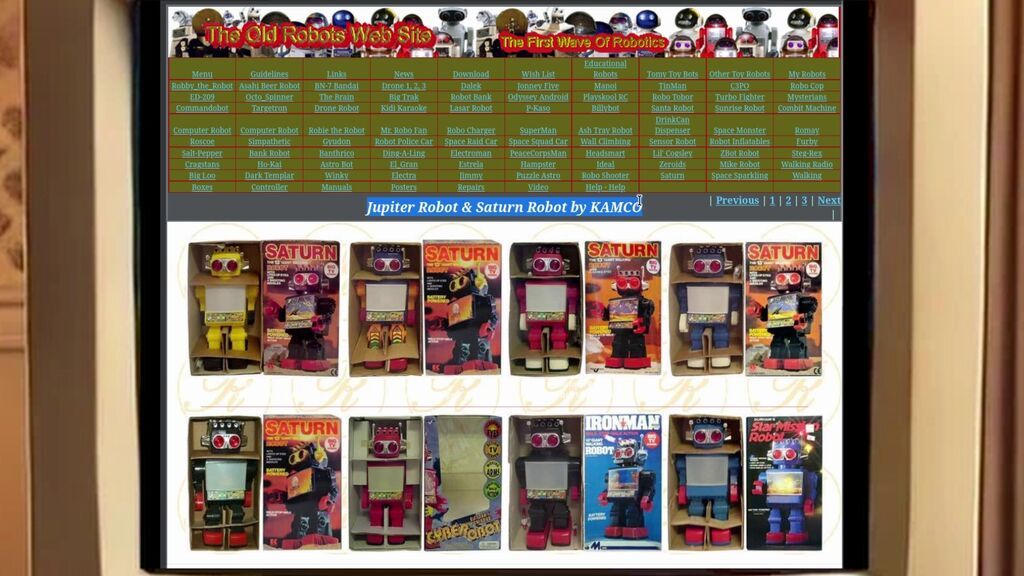
My research revealed that these models were manufactured in Taiwan by Kamco, a company that produces OEM toys that are later rebranded. The same robot was sold under various names, including Saturn, Jupiter, Iron Man, and others.
All of these are versions inspired by the classic Space Explorer (also known as TV Spaceman), manufactured in Japan by Horikawa in the 1960s.
The original was entirely made of tinplate. Over time, costs decreased, and plastic replaced metal, but the internal mechanism remained essentially the same.
First test: nothing
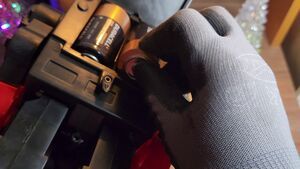
The robot uses two D-size batteries. I installed them.
Switch ON.
I can only hear the motor running.
It doesn't move.
There are no lights.
There's no screen.
Nothing.
Complete disassembly
Five screws:
- Two in the head
- Three in the torso
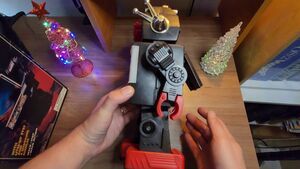
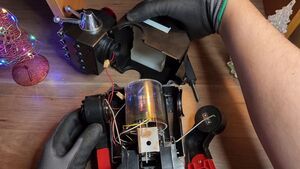
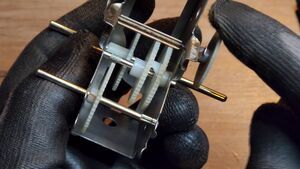
Inside, the classic mechanism for this type of robot:
- Motor
- Gear train
- Mechanical switches, toggle between walking and activating the screen
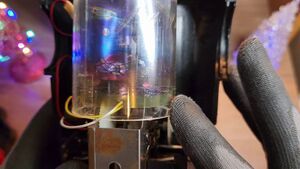
- Front projector drum
- Lights inside the head
View all (11 images)
Problems encountered
After opening the robot, the first thing you notice is a couple of unsoldered wires. These wires go to the head lights (the illuminated eyes); although they're not connected, they don't appear to be the cause of the problem.
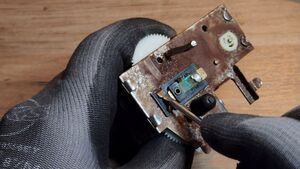
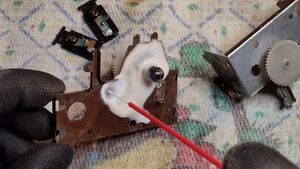
The first step will be to disassemble the mechanism and remove all the rust.
View all (5 images)
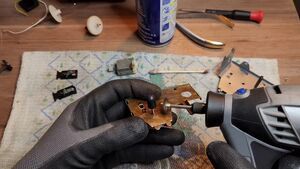
To loosen the rust, I used good old WD-40, then scraped it off with a little more force using a wire brush or a rotary tool like a Dremel.
To prevent the rust from returning, I polished the metal, cleaned it with alcohol, and finally applied a clear coat.
Now, let's find the real problem.
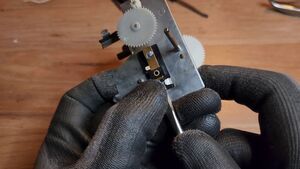
After reassembling the mechanism and spending a few minutes observing how the gears moved, I finally understood where the problem lay.
The system switches between two main circuits:
1) Walk and turn on the eye lamps.
2) Stop, activate the projector light, and rotate the front drum.
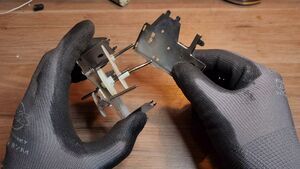
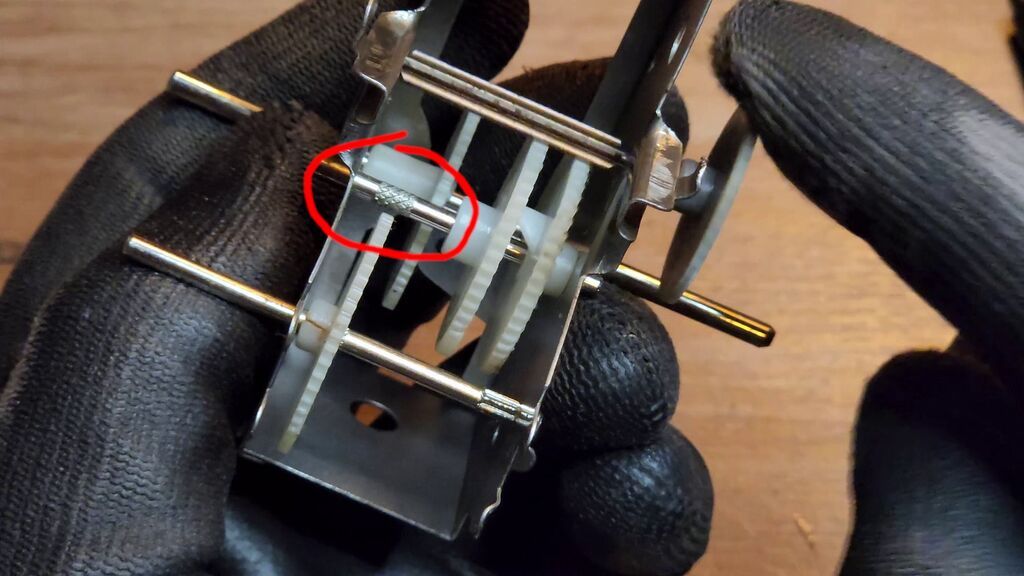
The alternation between these two modes is achieved through a very ingenious system: two gears with different numbers of teeth coexist on the same shaft. This difference generates a variation in relative speed, and one of them incorporates a small lever that, at the precise moment, pushes the shaft to one side.
At the ends of the shaft are two mechanical switches. When the shaft moves, it activates one or the other, thus changing the active electrical circuit.
And here was the problem: the gear responsible for transmitting energy to the next circuits was missing.
Calculating the Missing Gear
Measurements:
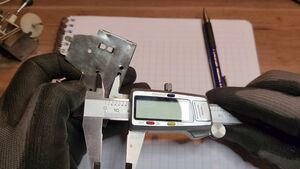
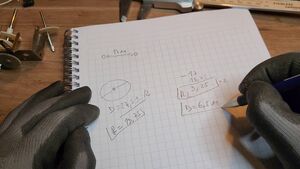
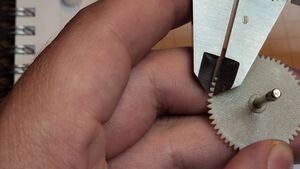
Distance between centers: 17 mm
Diameter of secondary gear: 27.5 mm
Radius: 13.75 mm
Subtracting the distance between centers:
17 mm – 13.75 mm = 3.25 mm
Multiplying by 2:
3.25 × 2 = 6.5 mm
Adding the tooth length:
~1 mm per side → ideal diameter: 7.5 mm
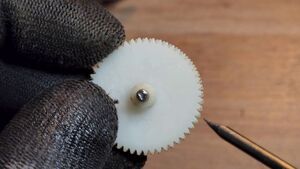
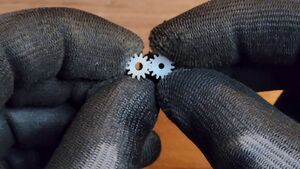
Checking my bag of assorted gears, I found one that was 7.4 mm, perfect.
View all (4 images)
Manual Adjustment
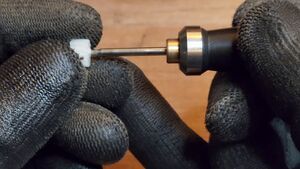
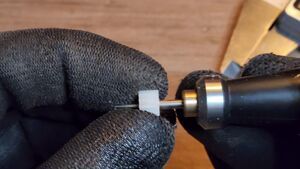
The hole was too small for the shaft (approximately 3 mm).
Using a hand drill and a 2.5 mm drill bit, I gradually reduced the hole until it fit.
A little controlled pressure.
Gentle taps.
A firm fit.
To ensure it wouldn't move during switching, I applied a small amount of cyanoacrylate.
View all (6 images)
Electrical System
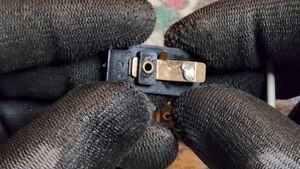
The switches had copper oxide but no structural damage.
WD-40 was used to loosen the oxide, followed by cleaning with a fine wire brush, and finally, straightening the copper plates.
The light bulb wiring seemed confusing at first, but analyzing the connections made it clear they were wired in parallel.
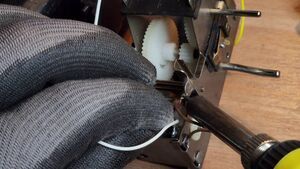
Finally, I assembled the remaining mechanical parts and soldered all the wires in place.
Additional protection: Kapton tape was used to prevent the wire insulation from reacting with the plastic drum again (yes, some old insulation can degrade other polymers).
Lubrication of gears.
Complete reassembly.
View all (13 images)
Moment of Truth
It was time to install the new batteries.
I flipped the power switch and:
It walked and its eyes lit up, it stopped, and the screen projected. The restoration was perfect, after 40 years in storage due to a manufacturing defect, the robot finally did what the box promised.
Here is the video I posted on YouTube documenting this work:
Comments (0)
No comments yet.