Repairing a 3 1/2" floppy drive that doesn't detect disk change
In the previous article, I restored an old IBM PS/1. While installing the operating system, I noticed strange behavior: my floppy drive would read disks correctly, but if I switched from one disk to another, it kept showing the contents of the previous disk, as if it hadn't been removed. To illustrate this problem more clearly, let's use the following example:
I have two disks, A and B. If I power on the computer and insert disk A, it displays A's contents without issue. However, if I then remove A and insert disk B, the drive still shows A's contents. The only way for it to recognize B is to restart the computer and then insert disk B. If I want to read disk A again, I have to restart once more.
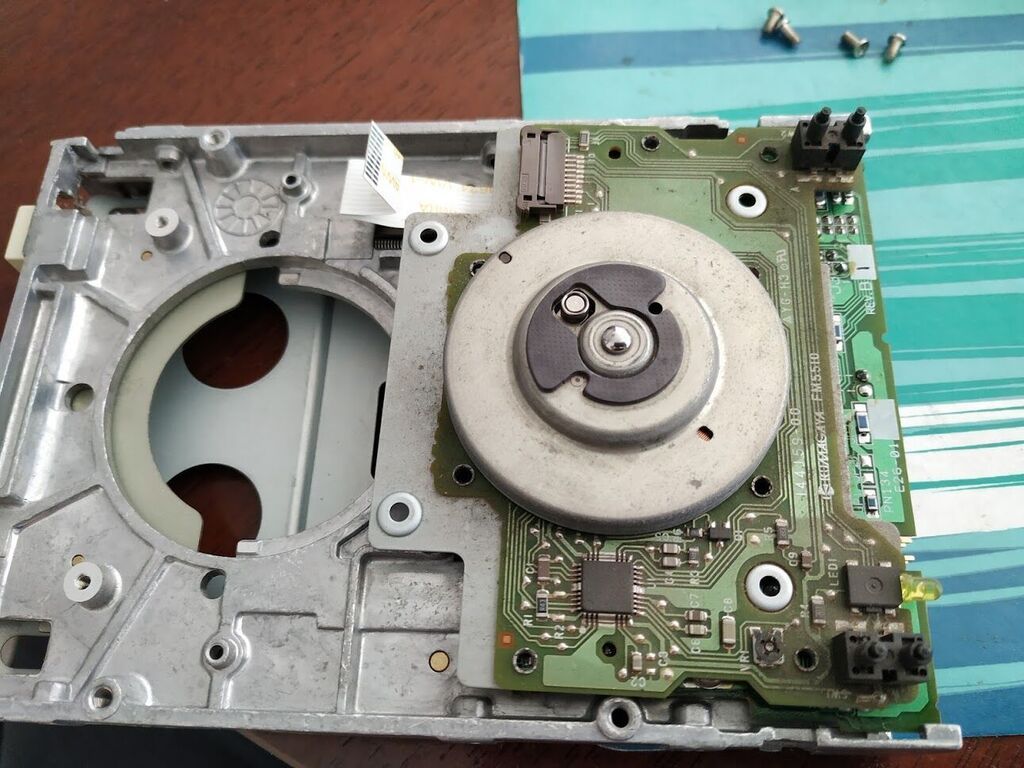
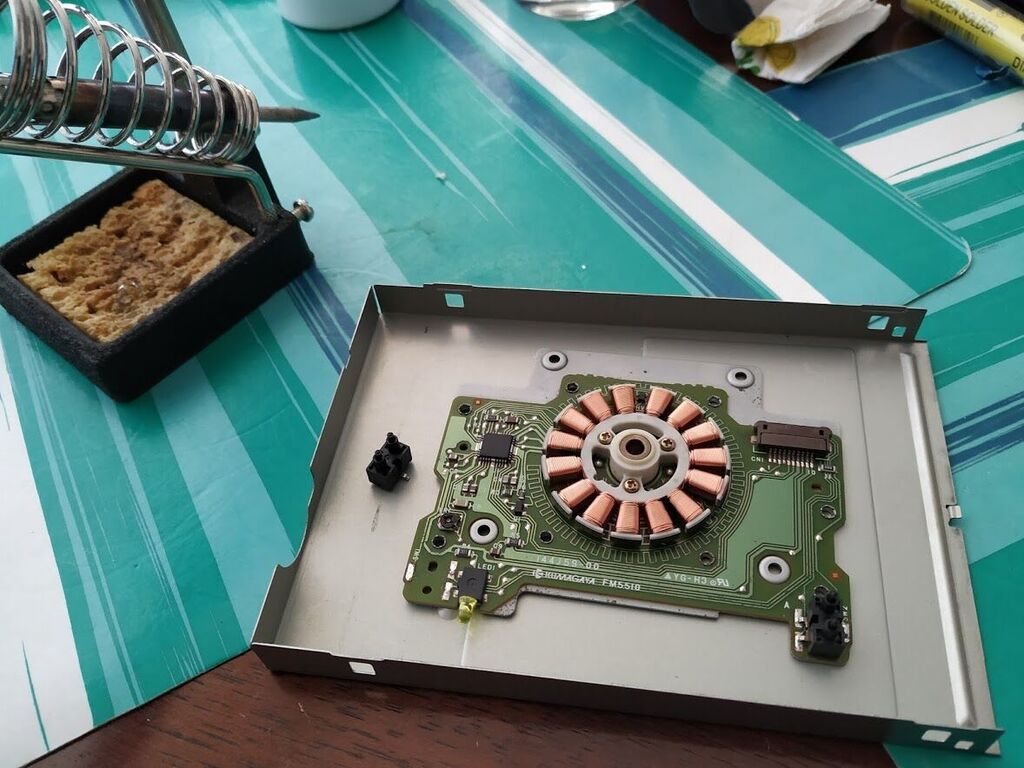
This issue arises because the sensors located at the front of the floppy drive are not working properly. These sensors detect the type of disk and whether it's write-protected, and they also send a signal to the operating system indicating that a disk change has occurred. The solution involves disassembling the unit; in the worst-case scenario, the sensors will need to be replaced. Some floppy drives use optical sensors, which typically only require cleaning as maintenance.
Unfortunately, my floppy drive uses small switches that operate in direct mode: when they're not pressed, the circuit remains closed, and when pressed, it opens.
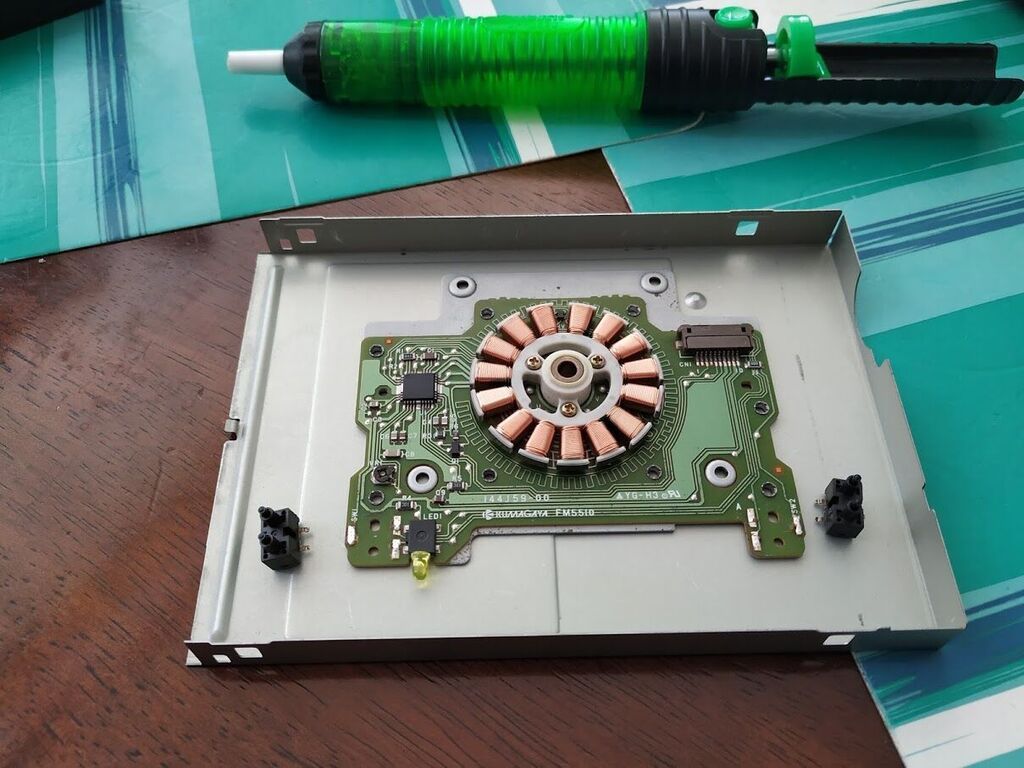
To fix this problem, you need to desolder and replace the switches. However, since these are obsolete components, it's very difficult to find new ones on the market, so the only option is to restore them.
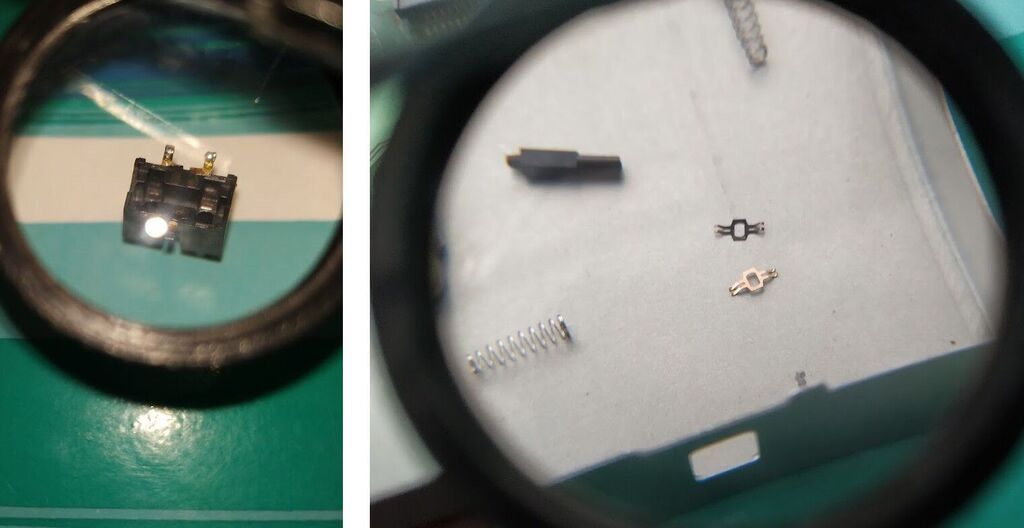
Ideally, you should have a magnifying glass or some tool to help you see the details (though you might not need one if you have good eyesight). In the image, you can see the dirty contacts: when checking them with a multimeter, they always showed as open. You can clearly see a dark tint caused by the grime.
To clean them, I used lemon juice, baking soda, salt, and very fine sandpaper (around 400 grit). I chose a natural method instead of harsh chemicals to avoid damaging these delicate pieces. After cleaning, it's important to rinse them with clean water to remove any residual minerals.
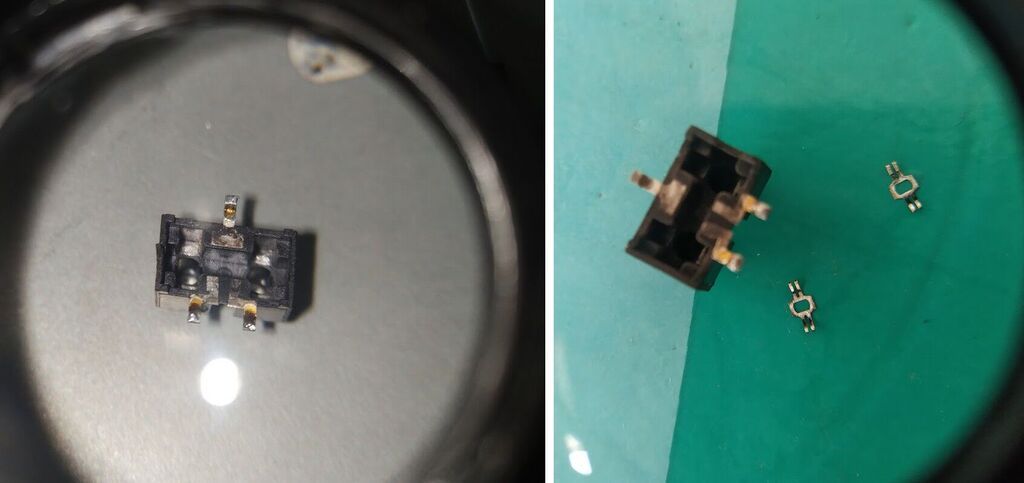
Once cleaned, the contacts looked much better.
Next comes the most challenging part: reassembling the switches and making sure they have continuity in their corresponding state.
I recommend doing this in a spacious, organized area so you can easily find any pieces that might spring loose.
After several attempts, I managed to reassemble the switches correctly and solder them back on. In the end, the floppy drive started working properly again, allowing me to switch disks without any issues.
Comments (1)
Arnold (user-5) 
 2026-10-29 23:35
Reading this from my old palm thank fo back to life