Bringing the Sharp PC-1251 Pocket Computer Back to Life
Many readers of this post probably lived through the golden era of the 1980s. In my case, I was just a kid at the end of that decade and had no idea how to do mathematical calculations. At home, the most sophisticated thing we had was a CASIO fx-82 scientific calculator, very common and unremarkable for the time. That calculator was what I used to validate my homework calculations during my early school years, and it stayed with me until I got my first computer.
In the late 1990s, I remember walking past a store and seeing in the window some different-looking calculators - larger, with extra buttons, and a title that caught my eye: Pocket PC. At first glance, they didn't seem particularly special; one might even say they didn't draw much attention. Years later, I discovered that these types of devices were actually small pocket computers - true personal programming and automation tools that largely went unnoticed in their time.
In the U.S. market, three big names stood out: Casio, Sharp, and Tandy Radio Shack. The latter used Sharp's technology under license, so they were very similar.
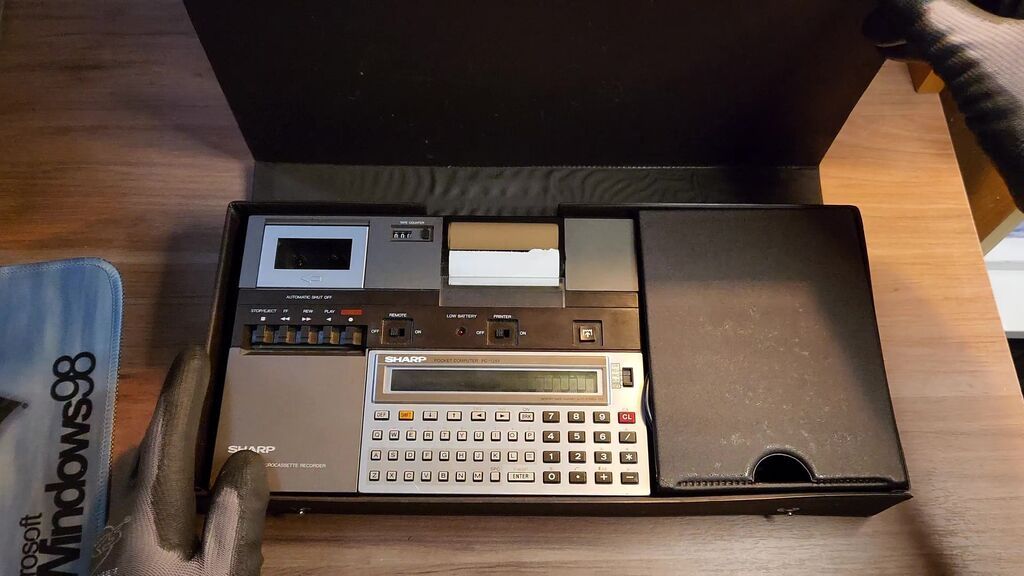
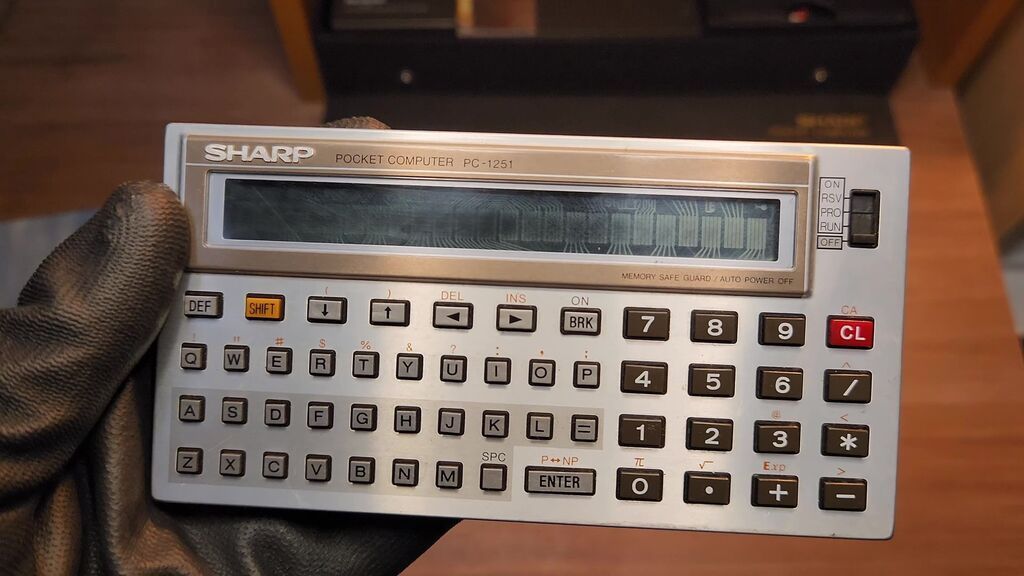
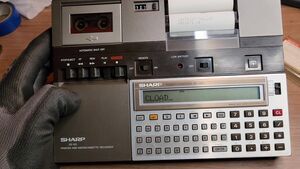
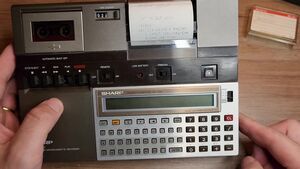
Not long ago, I managed to acquire a Sharp PC-1251, and it came with its dock, which includes a printer and cassette unit. The set was almost complete: it included the power adapter, several tapes that might contain data, a case for carrying the unit without the dock, and documents with example programs written by the previous owner. The only thing missing were the user manuals.
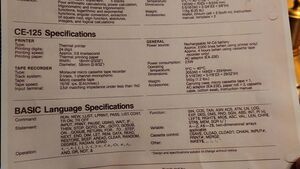
Technical Specifications of the Sharp PC-1251
- CPU: Hitachi SC61860 (8-bit)
- Speed: 576 kHz
- RAM: 4 KB
- ROM: 24 KB
- Display: A one-line LCD with 24 characters
- Programming Language: BASIC
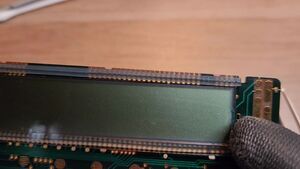
Unfortunately, the screens on Sharp and TRS-brand pocket computers were affected by what's known as "vinegar syndrome" - a term for material degradation over time. And since I enjoy a challenge, I found a unit with a badly damaged display.
Disassembly and Diagnosis
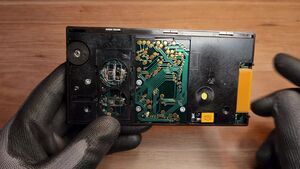
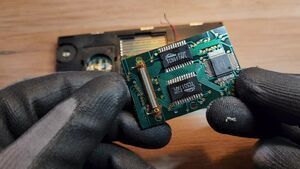
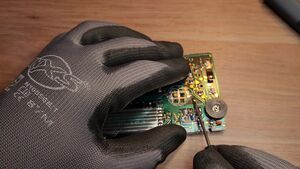
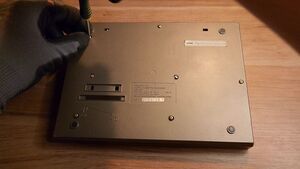
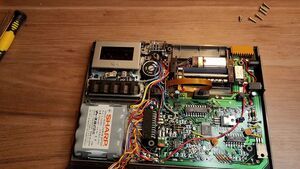
To begin the restoration, the first step was to open the case by removing a few screws, take out the expansion card, and desolder the speaker to make disassembly easier. Then I reached the heart of the problem: the screen.
View all (5 images)
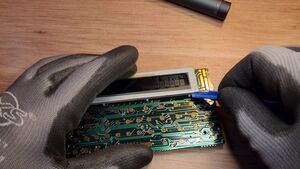
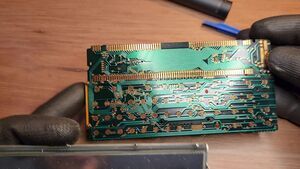
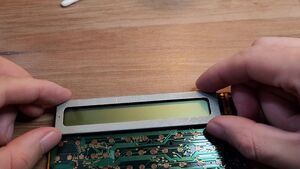
The screen was protected by a metal shield that I had to remove carefully by straightening its locking tabs. The contact between the glass and the logic board is made through zebra rubber strips with embedded graphite threads.
The liquid crystal was firmly glued to the metal frame, and although I tried softening the adhesive with heat, the only thing that worked was soaking the piece in isopropyl alcohol for a couple of hours. Even then, it was quite hard to detach. Maybe acetone would've been more effective.
View all (6 images)
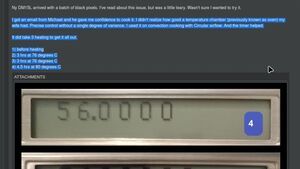
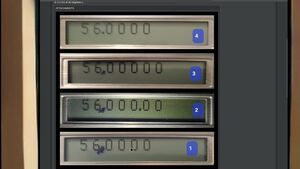
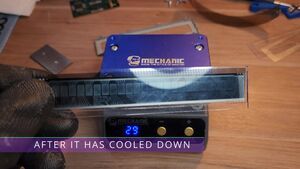
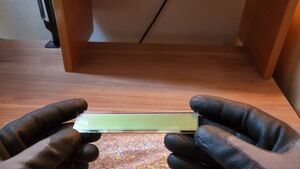
With the screen removed, my first attempt was to recover it using the "display baking" method, which involves heating the LCD so its chemical composition "resets." I ran numerous tests at different temperatures and for various lengths of time; however, once the LCD cooled down, it would darken again. After many failed attempts, I looked under the microscope and found internal damage: the polarizing liquid was completely disintegrated. No possible repair.
View all (5 images)
Plan B: A New Screen
Fortunately, user and developer Robert Baruch had designed a functional replica of this display. His work made it possible for enthusiasts like me to bring these machines back to life. I'm deeply grateful for his contribution.
With the new screen in hand, I proceeded to install it carefully. I cleaned the zebra strip contacts, aligned the screen carefully using the positioning points, and secured the metal frame with double-sided tape. After partially assembling the unit for testing...
At first, it displayed the message "Busy" and didn't do anything - even when turned off, it still showed "Busy." After reading the service manual, the power-on diagram indicated that the computer stays in a "Busy" state when waiting for memory read/write operations. It could've been a bad contact on the expansion card. After cleaning the zebra strip and reinstalling the expansion card, the computer came back to life.
View all (5 images)
Restoring the Dock and Building a New Battery
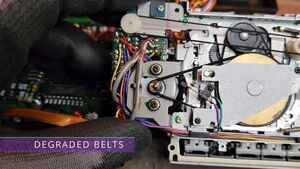
The dock, which includes a cassette player and a thermal printer, also needed attention. When inserting a cassette, it would spin irregularly. Upon disassembly, I discovered the belts were disintegrating. A deep cleaning with acetone, replacing the belts, and adjusting the clutch brought smooth operation back to the mechanism.
The original battery was a 4.8V nickel-cadmium cell, completely dead and corroded. I replaced it with 1.2V NiMH cells, spot-welding them together. Avoid using a soldering iron for this, as excessive heat can damage the cells. I wrapped everything up to prevent chemical leaks and kept the original label as a memento.
View all (20 images)
Testing Features: Calculation, Programming, and Printing
Once everything was restored, the computer proved to be in excellent working condition: you can define variables, execute instructions in BASIC, load programs from cassette, and even load programs from a modern computer using an audio cable connected to the sound output.
I tested a "Hello World" program I wrote, and the printer worked perfectly. Then I loaded an old program from a tape. To do this, I used the CLOAD command, activated remote, pressed play, and watched as the Sharp computer converted audio into data.
I found Martin Miedema's repository:
It's full of programs compatible with the Sharp PC-1251 and similar models. One of the most interesting was a text-based game where you have to find a "bug" in a 10x10 grid. Using the numeric keys as directions (2, 4, 6, 8), you navigate the map, and a distance counter helps you locate it. I also tried an art program that printed an ASCII art image of a lady.
View all (11 images)
Conclusion
This machine uses the BASIC language, a high-level interpreted language and one of my favorites. You could say BASIC was the Python of the 1970s through the mid-90s. Its success was due to the fact that it didn't require compiling, and its minimal typing requirements allowed anyone to write programs without worrying about complex data type declarations.
For a long time, I thought the "PC" label was overrated on these small machines, since a PC's common use in the late '90s was vastly different from the use these devices had in the '70s and '80s. But after admiring what's inside, I have to admit - this is a full-fledged computer. This device made someone's work easier and perhaps contributed to the development of many projects that new generations enjoy today.
Here's the video I published on YouTube documenting the restoration and use of the device:
Comments (1)
Empire66 (user-2) 
 2026-10-29 13:46
Hi, I’m 38 years old. When I was a kid, my father had one of those; I always wanted to play with it, but he wouldn’t let me. Later on, when I was older, it didn’t interest me anymore lol. I know it’s somewhere in my parents’ house; I’ll look for it when I visit them.