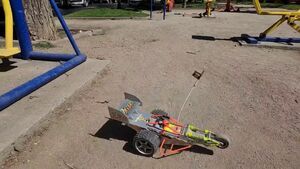
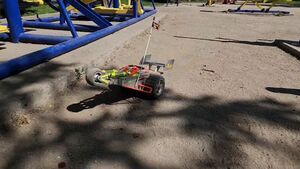
TYCO Dagger my first R/C, My history and restore
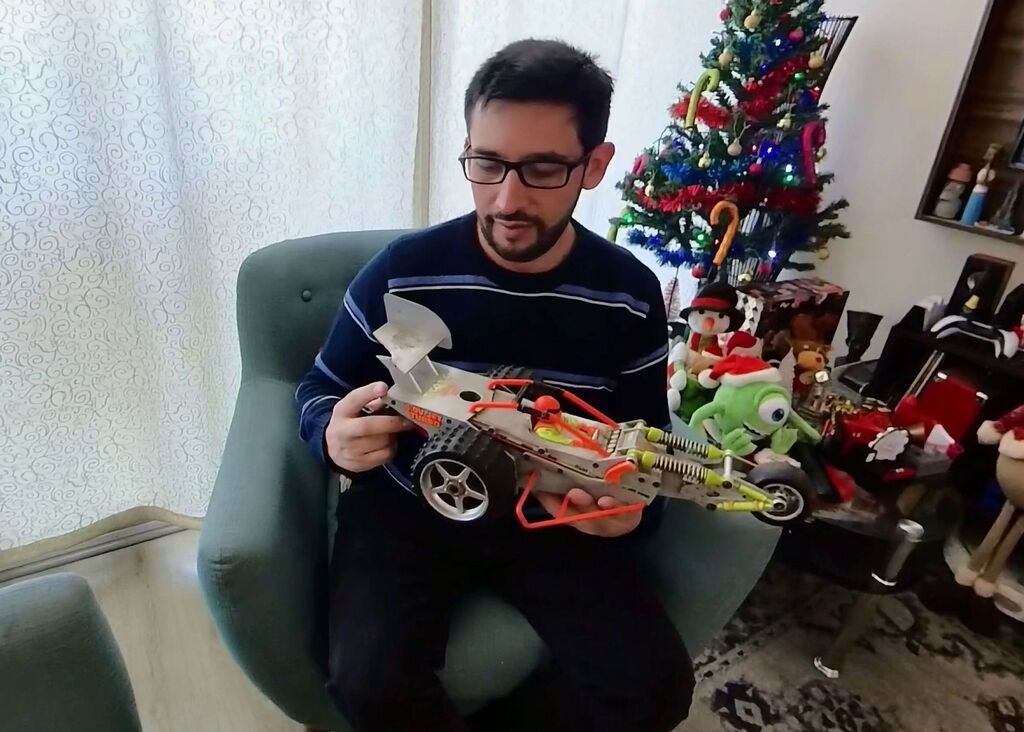
In 1986, the company TYCO partnered with TAIYO, a Japanese company renowned for its catalog of interesting radio-controlled cars. Thanks to this collaboration, TAIYO was able to expand its products beyond Asia, reaching the hands of children in Europe and America. It was precisely this partnership that allowed a TYCO Dagger to find its way into my hands in 1996.
I received this toy as a Christmas gift, although I have to admit I had asked for the TYCO Mutator. I'm not exactly sure what happened—maybe there was a mix-up, or perhaps the Mutator was more expensive. I never asked why, and I doubt my parents remember. However, that doesn't take away from the fact that the Dagger was an incredible gift.
During the first year, I played with it nonstop. I took it everywhere and had so much fun with it. The only downside was the short battery life, which lasted only about 15 minutes, while recharging it took an excruciating 4 hours. Even so, the hours of fun it provided made it well worth it.
In 2022, while browsing Facebook Marketplace for spare parts for an old computer, I came across a TYCO Mutator for sale. This model had lived in my memories for years, and from time to time, I searched for it without any luck. I immediately contacted the seller, but upon arriving, I was disappointed to find it was a mini version. However, the trip wasn't entirely in vain, as the seller also had other TYCO products. Among the items I purchased was a 6.0V JET TURBO battery and charger pack in good condition—perfectly compatible with my old Dagger. My original batteries had stopped working years ago, so this was the perfect opportunity.
With the new battery pack in hand, I headed to the storage room and retrieved my Dagger. Its time to return to life had finally come.
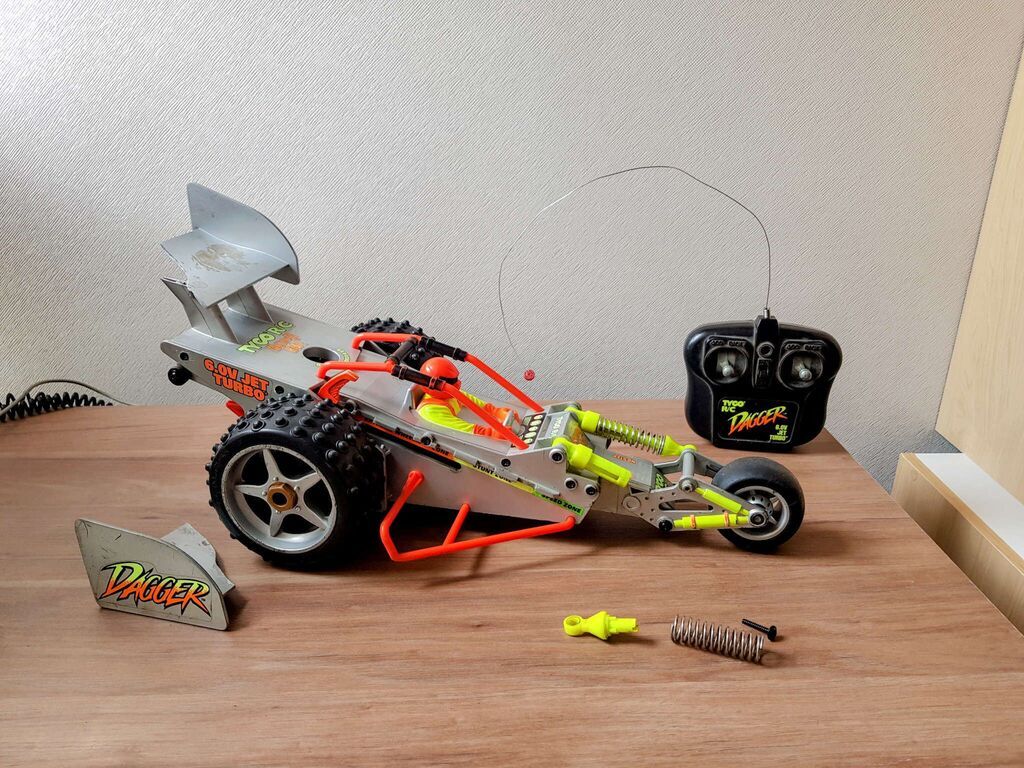
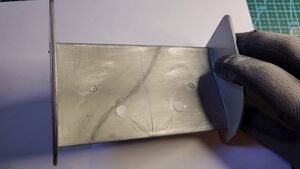
This is how I found it: with a broken spoiler and a non-functional electrical system.
Time to Disassemble and Begin Restoration. Let's Get to Work!
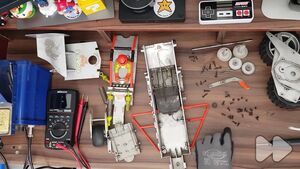
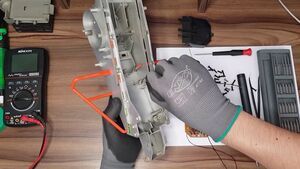
Starting the restoration involved carefully disassembling each piece. While taking apart the Dagger, I noticed that, unlike modern toys, TYCO had used a large number of screws and mechanisms specifically designed for repairability. This approach not only makes maintenance easier but also reveals the quality and dedication put into the original design.
The disassembly process required meticulously organizing screws by size and section, removing gears, protective covers, wheels, and finally reaching the mechanical and electronic core of the vehicle.
Deep Cleaning
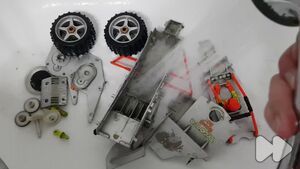
Cleaning was a tedious but necessary task. Decades of accumulated dirt required careful attention. Using brushes, soapy water, and a lot of patience, each part was meticulously cleaned. Afterward, it was essential to use compressed air to prevent any residual water from leaving stains due to the minerals contained in the tap water in my city.
View all (4 images)
Electronic Repairs
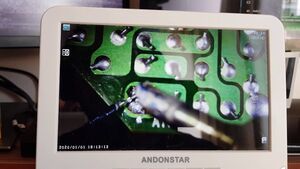
On the electrical side, the most evident damage was the wiring that connected the battery to the circuit board, which had been cut and rusted over time. The repair involved carefully soldering these wires and checking that the board and motors were still functioning properly.
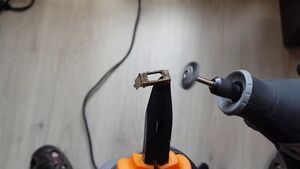
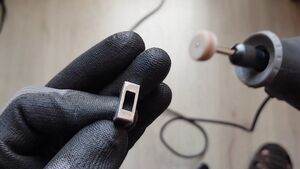
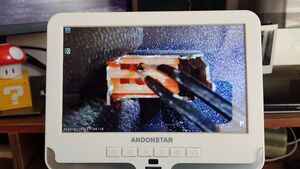
The power switch, corroded by rust, had to be disassembled and soaked in white vinegar to remove the oxidation. The most stubborn residue was removed using a handheld rotary tool. Since there was a lot of rust, I also used sandpaper to finish the cleaning.
View all (5 images)
Check out the following video on my YouTube channel, where I share my history with TYCO RC cars and the restoration of the Dagger:
Motor Cleaning
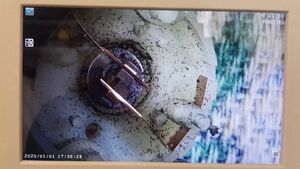
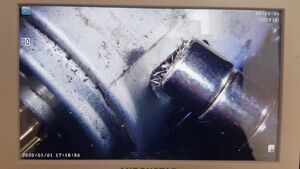
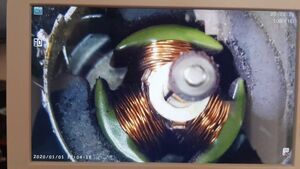
A crucial part of the restoration was the electric motors. These had accumulated dirt and adhered metallic particles. I carefully disassembled them, cleaned them with specialized electrical contact solutions, and used magnets to remove any remaining metal debris. I thoroughly inspected the brushes to ensure they weren't excessively worn and then applied lubricant, which significantly improved performance and eliminated friction caused by dirt against the rotor.
View all (10 images)
Antenna
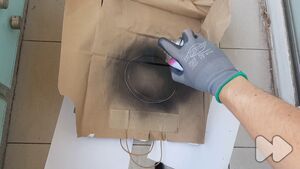
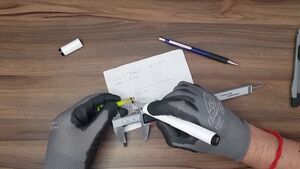
The vehicle's original antenna was a simple black wire that had been lost over time. Since I didn't have an identical replacement, I recycled a white wire, painted it black to maintain the original aesthetic, and installed it on the vehicle, reinforcing the connection with hot glue to prevent future breakage.
View all (4 images)
Spoiler and Shock Absorber Restoration
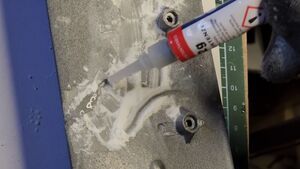
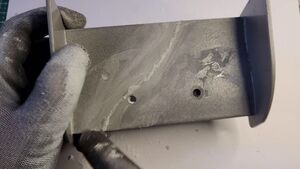
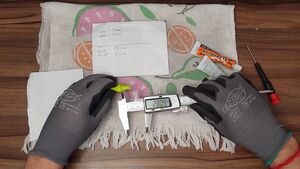
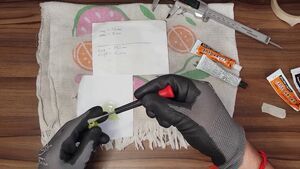
One of the most deteriorated parts was the spoiler. Initially repaired with epoxy glue, I found that this solution wasn't strong enough. I finally opted for cyanoacrylate mixed with baking soda, a combination that provides extreme adhesion. I then reinforced the joint by adding two epoxy resin supports, ensuring the piece will never break again.
View all (11 images)
The shock absorber, which was also broken, required precise reconstruction using specially colored epoxy resin to replicate the original part. I then hand-sculpted it with a rotary tool (Dremel) and sandpaper until it regained its exact shape.
View all (8 images)
After repairing all the individual pieces, I began reassembling the TYCO Dagger. This process required patience and organization. Each screw, gear, and plastic component was treated with special grease to prevent friction and reduce future oxidation. Seeing the vehicle take shape again was incredibly satisfying.
Here's the continuation of the previous video:
Decals
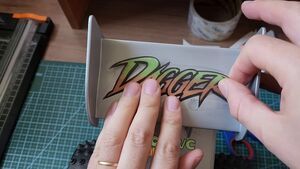
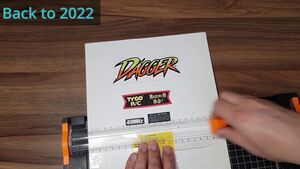
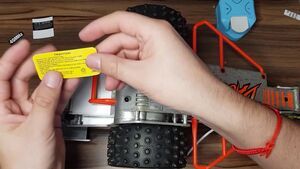
A crucial part of restoring the Dagger's original personality was recreating its lost or damaged decals. Using digital tools like GIMP, I designed replicas that were printed and carefully cut, restoring the toy's visual appearance and identity.
View all (5 images)
And here's the final restoration video! If you're interested, there's also a basic tutorial on GIMP with tips on how you can restore your own decals:
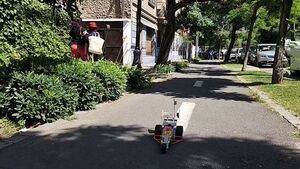
This project was not just a technical experience but also deeply emotional. Restoring my old TYCO Dagger was like going back to 1996 and reliving happy moments. Now, the vehicle looks and works just as well as it did in my memories, ready for new adventures!
Comments (0)
No comments yet.